Bambu Studio Quick Start Guide
Introduction
Bambu Studio is the software used to prepare 3D models for printing on Bambu Lab printers. Before a model can be printed, it must be imported, positioned, configured, sliced, and sent to the printer. This guide covers the most commonly used features that new users will encounter while preparing their first prints.
Add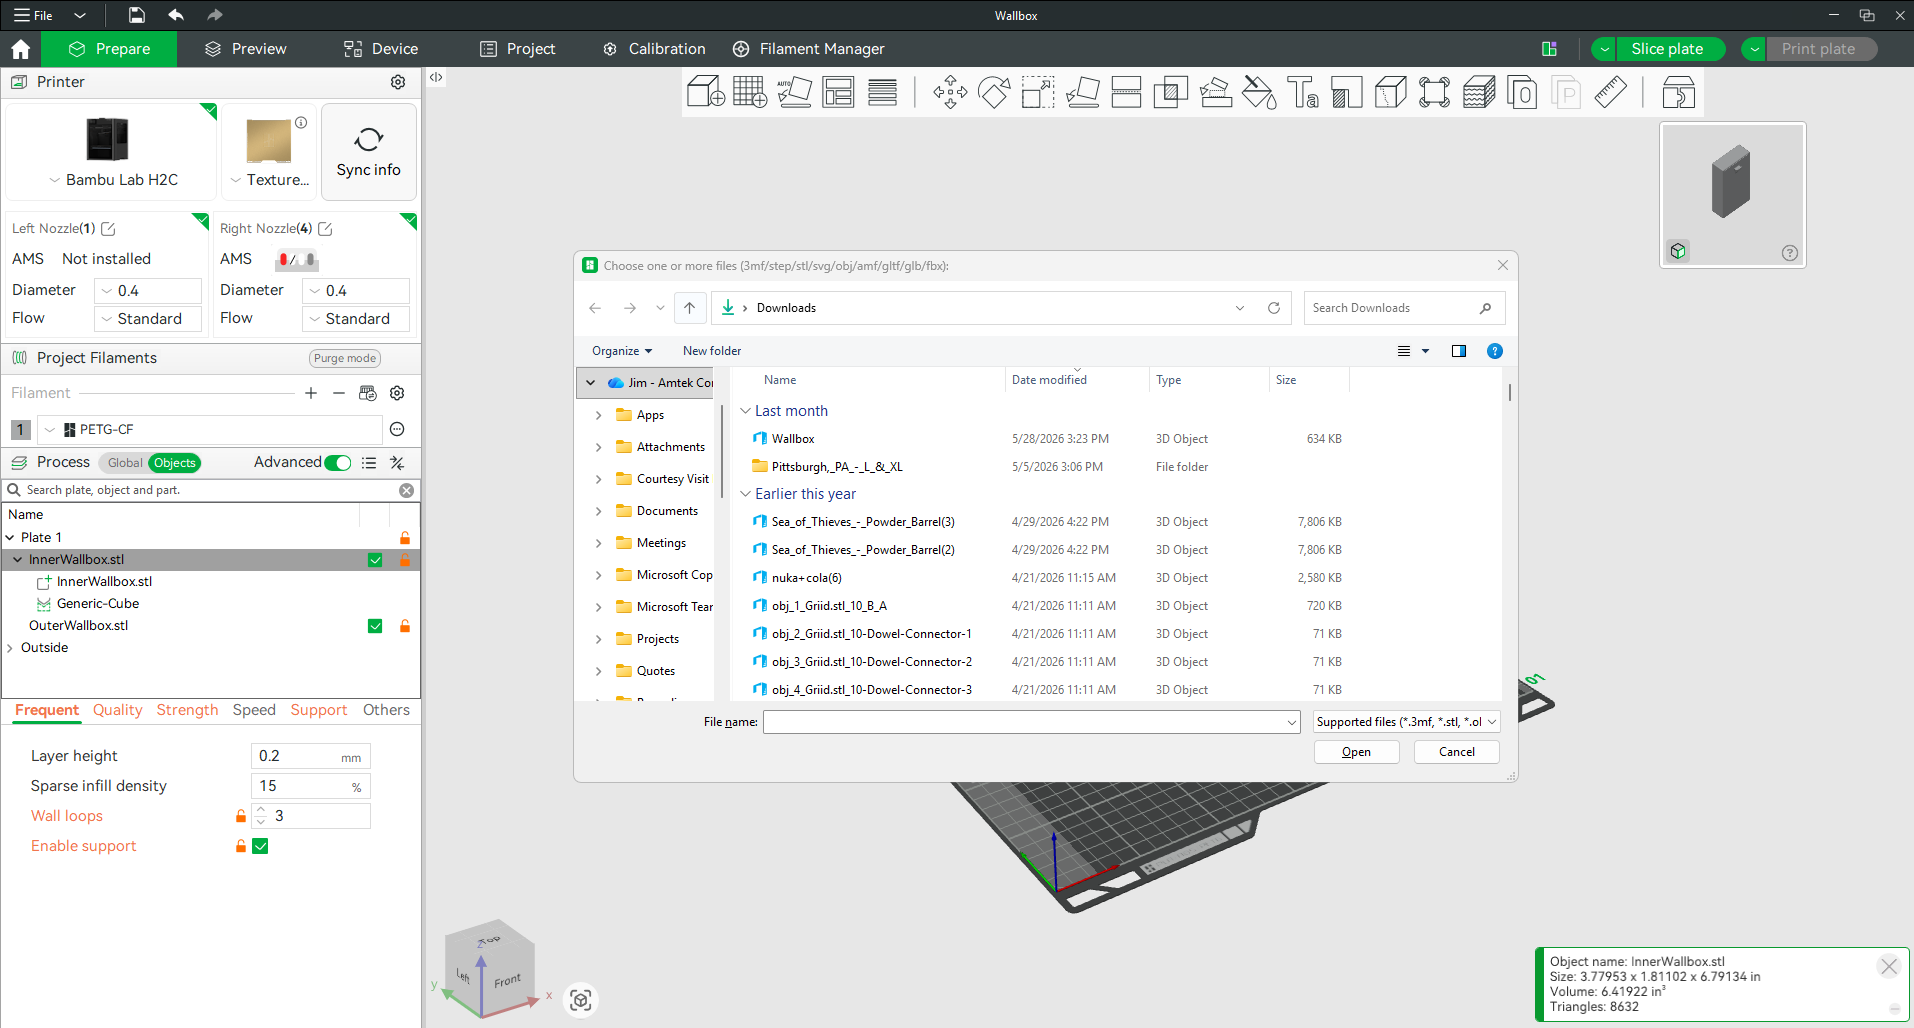
What is it?
The Add feature allows you to import 3D model files into Bambu Studio.
Why would I use it?
Before a part can be prepared for printing, it must first be imported into the software. Most commonly, users will import STL, 3MF, OBJ, or STEP files.
How do I use it?
Click the Add button and browse to the location of your model file. This can be a folder on your computer, a network drive, or external storage such as a USB drive. Once selected, the model will appear on the build plate and be ready for preparation.
Add Plate
What is it?
The Add Plate feature creates an additional virtual build plate within the same project.
Why would I use it?
This feature is useful when a project contains many parts or when a large assembly must be separated into multiple prints. Rather than creating multiple project files, you can keep everything organized within one project and print each plate individually.
For example, if a large assembly requires several printed components, each group of parts can be organized onto separate plates and printed one after another.
How do I use it?
Click Add Plate to create an additional build plate. Parts can then be moved between plates and prepared separately. Each plate can be sliced and printed independently.
Auto Orient
What is it?
Auto Orient automatically analyzes a model and rotates it into what Bambu Studio determines to be the most suitable printing position.
Why would I use it?
The selected orientation is intended to reduce support requirements, improve stability during printing, increase print quality, and shorten print times. While it is often a good starting point, it may not always choose the best orientation for every application.
How do I use it?
Select the model and click Auto Orient. Bambu Studio will analyze the geometry and reposition the part automatically. Review the new orientation and make any manual adjustments if necessary.
Arrange All Objects
What is it?
Arrange All Objects automatically positions models on the build plate.
Why would I use it?
When printing multiple parts at once, arranging them manually can be time consuming. This feature spaces objects appropriately, helps prevent collisions, and maximizes the available build area.
It is particularly useful when printing large quantities of parts or when attempting to fit multiple models onto a single build plate.
How do I use it?
Import all desired parts and click Arrange All Objects. Bambu Studio will automatically reposition the models to efficiently utilize the available build space.
Depending on your settings and available room, additional plates may be created if all parts cannot fit onto a single plate.
Move
What is it?
The Move tool allows you to reposition selected models on the build plate.
Why would I use it?
Sometimes a model needs to be placed in a specific location, separated from other parts, or positioned to improve print success.
How do I use it?
Select the model and click Move. Use the arrows to drag the object in the X, Y, or Z direction, or manually enter coordinate values for precise placement.
Rotate
What is it?
The Rotate tool changes the orientation of a model around the X, Y, or Z axis.
Why would I use it?
Changing a model's orientation can significantly affect print quality, strength, support requirements, and print time. Rotating a part can often reduce the amount of support material required or improve the appearance of visible surfaces.
How do I use it?
Select the model and click Rotate. Use the rotation rings to rotate the object manually or enter specific rotation values for precise adjustments.
Scale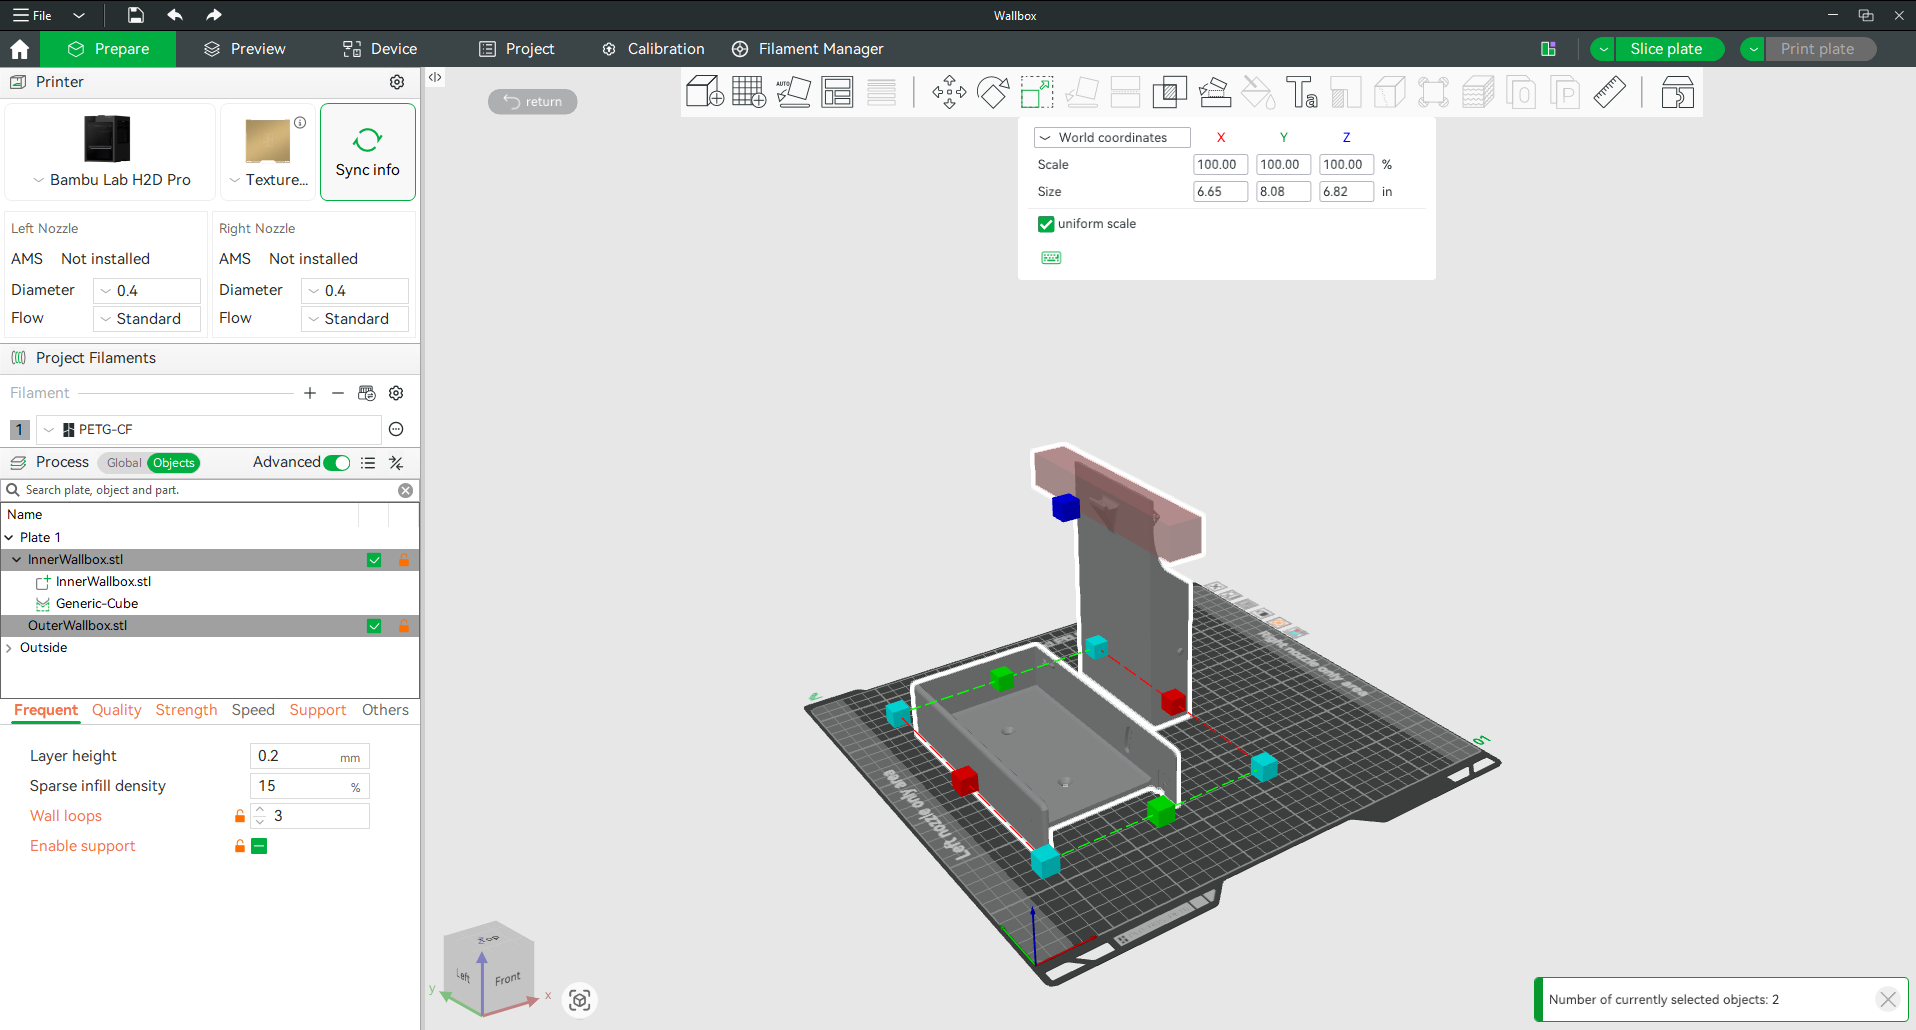
What is it?
The Scale tool changes the size of a model.
Why would I use it?
This feature is useful when a model needs to be resized to fit a specific application or adjusted to fit within the printer's build volume.
You can scale an entire model proportionally or adjust individual dimensions independently.
How do I use it?
Select the model and click Scale. Enter a percentage value or drag the scaling handles.
By default, all dimensions scale proportionally. To scale individual axes independently, disable Uniform Scale and adjust the desired axis.
Note: Scaling a model changes all dimensions and may affect fitment and tolerances.
Lay on Face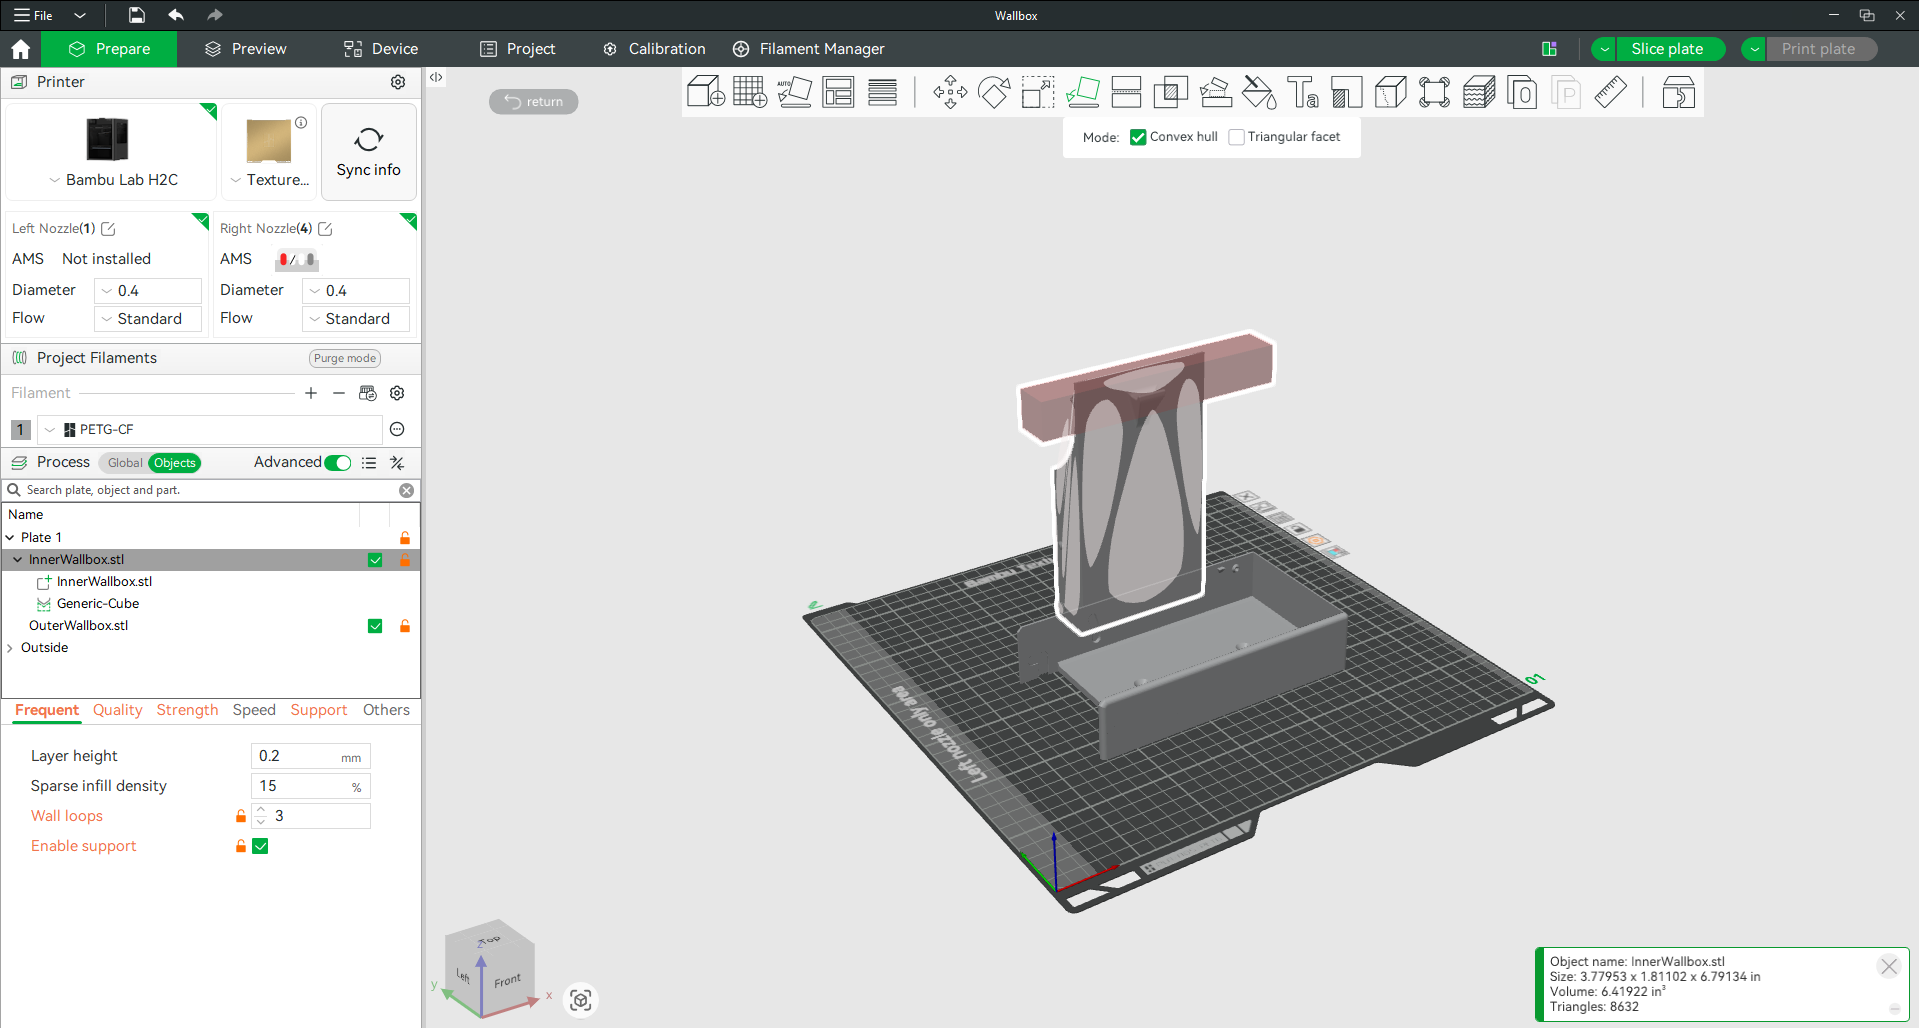
What is it?
Lay on Face automatically rotates a selected face so that it sits flat on the build plate.
Why would I use it?
This feature is often faster and more accurate than manually rotating a model. It is especially useful when Auto Orient does not provide the desired result.
How do I use it?
Select the model and click Lay on Face. Click the surface you want touching the build plate and Bambu Studio will automatically rotate the model into position.
Color Painting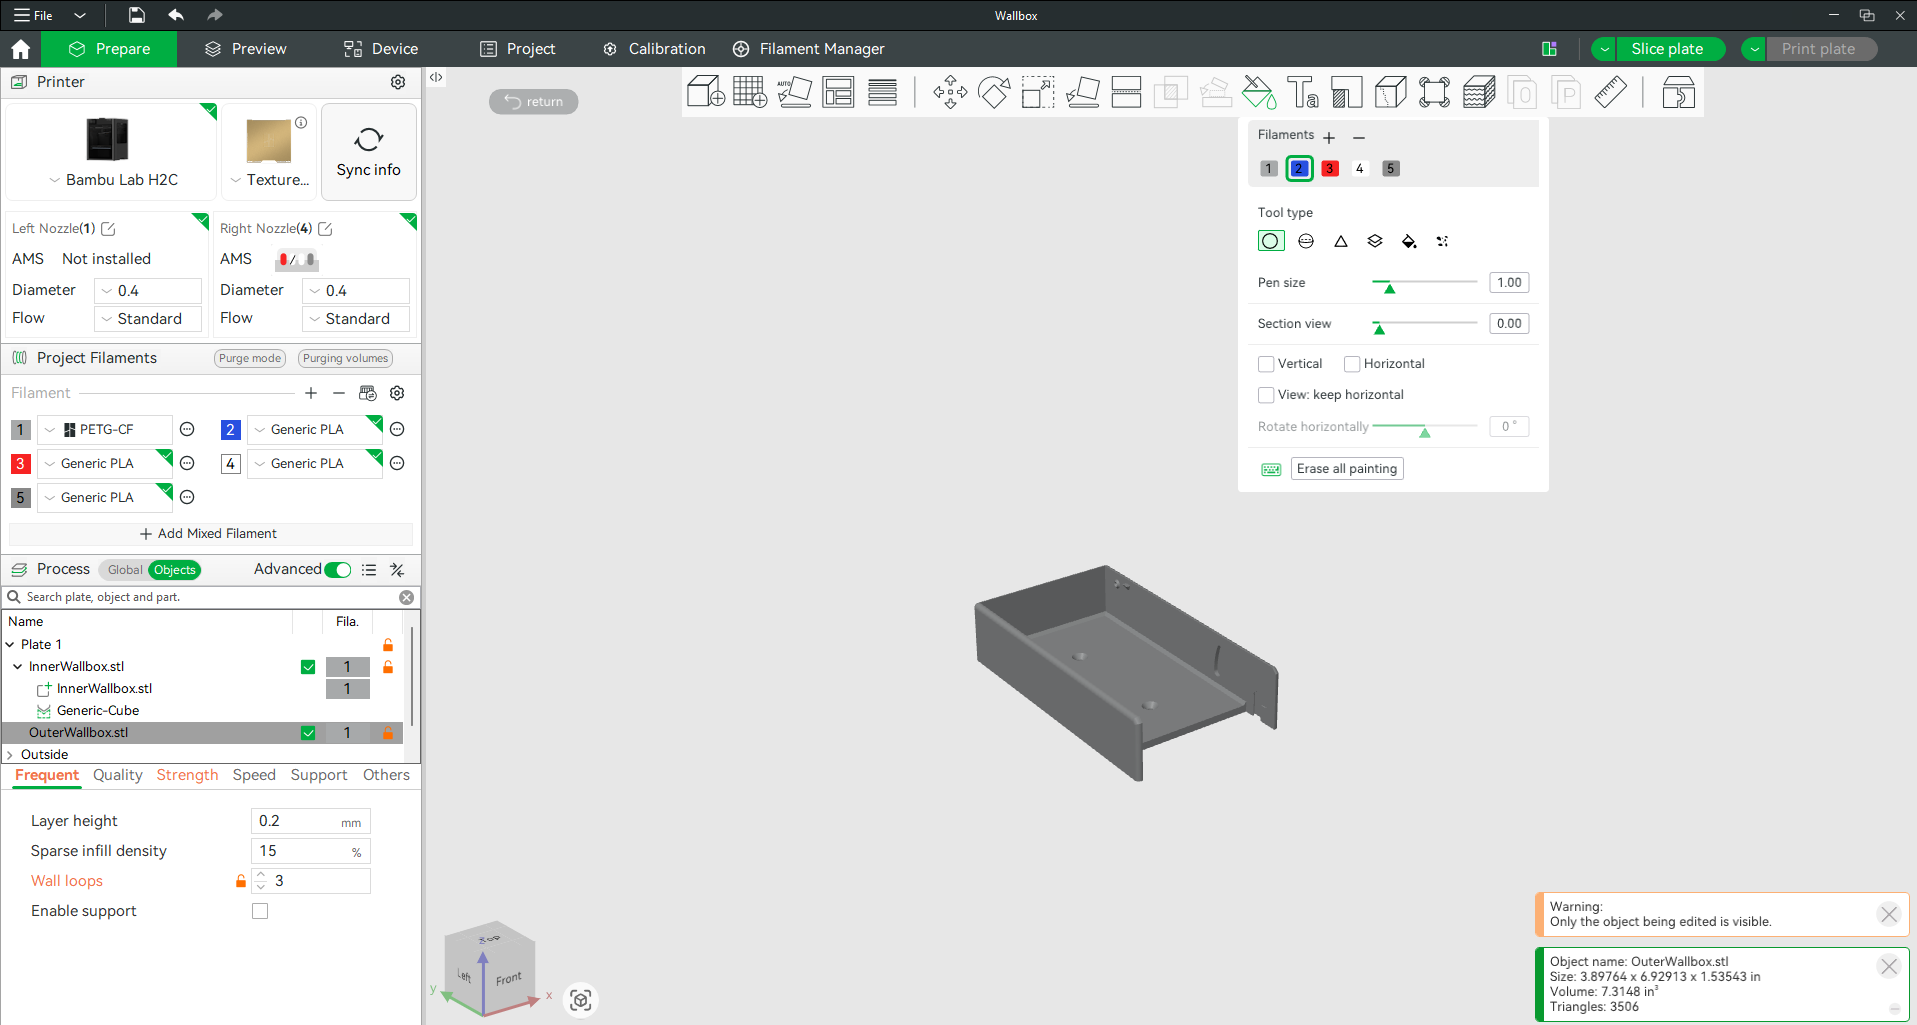
What is it?
Color Painting allows you to assign different filaments to specific areas of a model.
Why would I use it?
When printing with multiple colors or materials, this feature allows you to determine exactly which areas of a model will be printed using each filament.
How do I use it?
Select the model and click Color Painting. Choose the desired filament and use the painting tools to assign colors to specific surfaces or regions of the model.
After painting is complete, slice the model to preview the color assignments.
Note: Multi-color printing requires an AMS system or manual filament changes during printing.
Adding Supports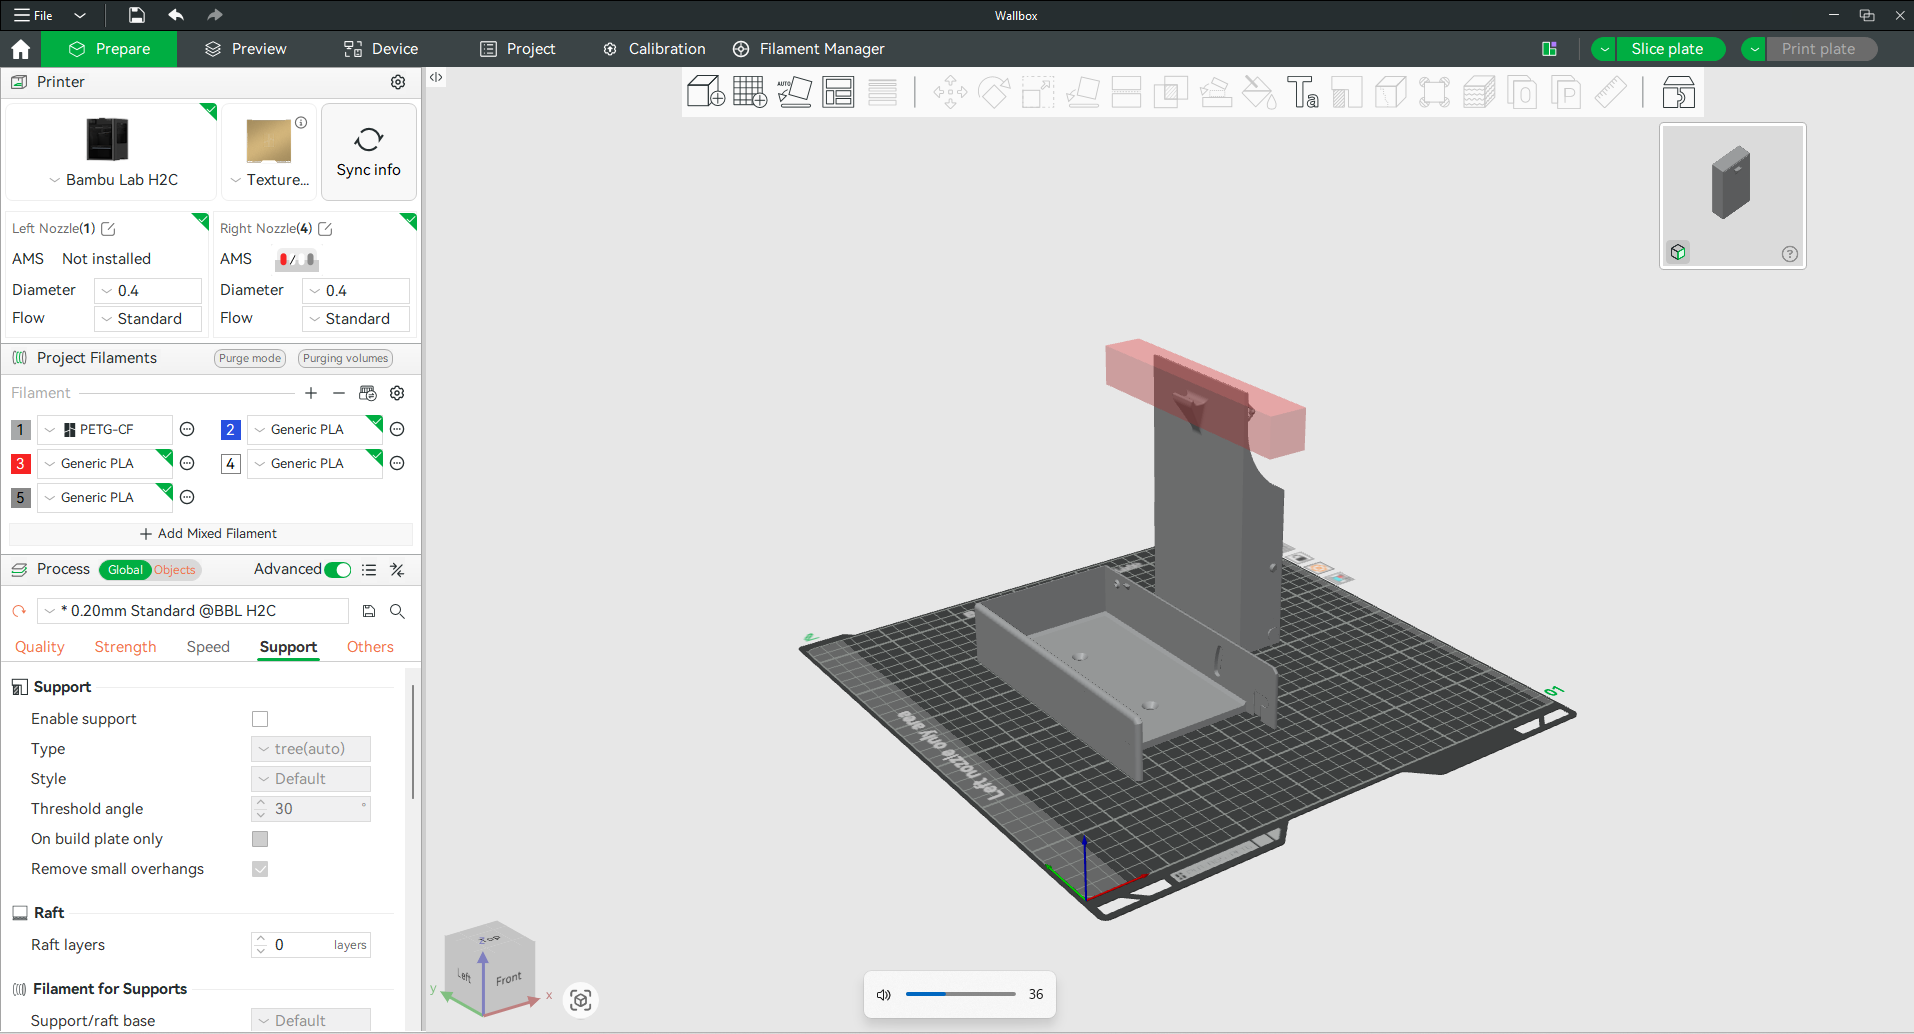
What are supports?
Supports are temporary structures printed underneath overhangs and floating features to prevent sagging or print failure.
Why would I use them?
Any feature that extends into open air may require support material during printing. Supports allow these features to be printed successfully and removed after the print is complete.
How do I use them?
In the Process section, select the Support tab and enable Support.
You can then choose support settings such as support style, support placement, and threshold angle.
Tip: Not every print requires supports. After slicing, use Preview Mode to determine whether supports are necessary.
Infill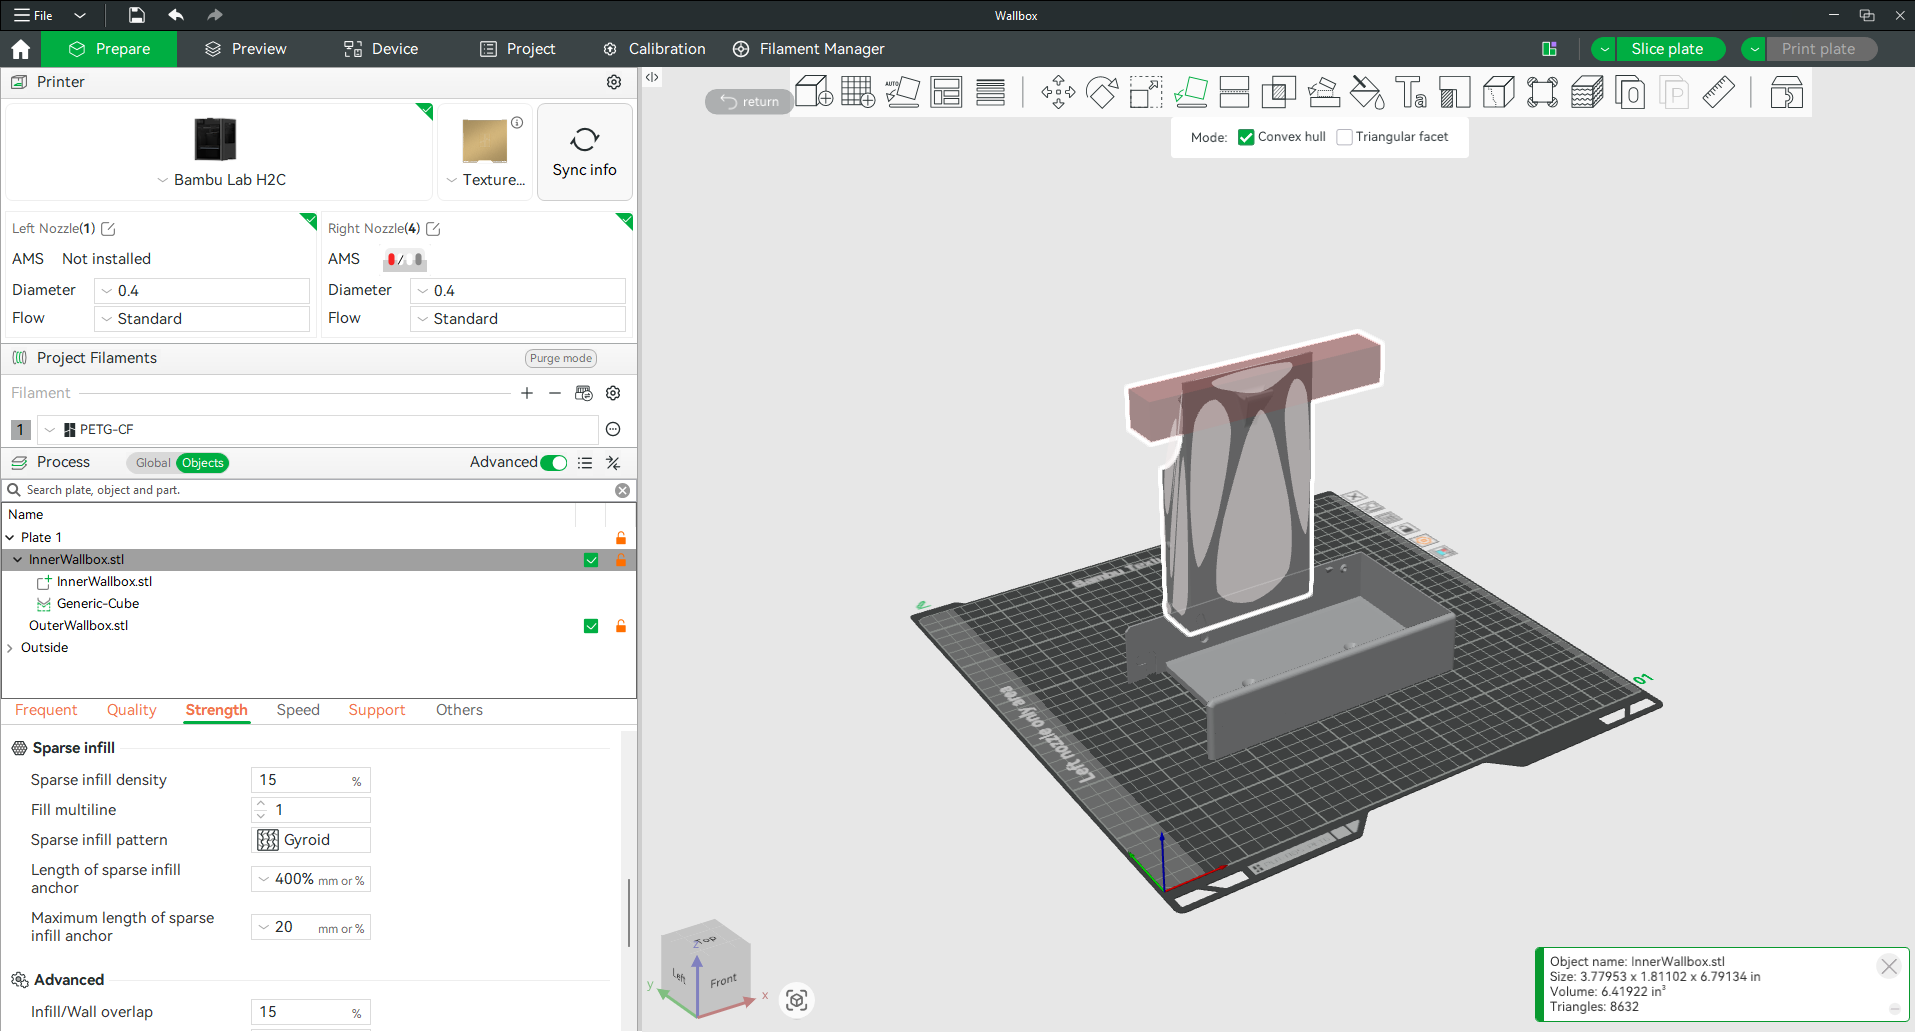
What is it?
Infill is the internal structure printed inside a model.
Why would I use it?
Changing the infill percentage and pattern affects part strength, weight, material usage, and print time.
Lower infill percentages print faster and use less material, while higher infill percentages produce stronger parts at the expense of additional print time and material.
How do I use it?
Open the Strength tab within the Process settings. Select an infill pattern and adjust the infill percentage.
General Recommendations
Display Models: 10-15%
General Purpose Parts: 15-25%
Functional Parts: 25-40%
High Strength Parts: 40% or greater
Slice Plate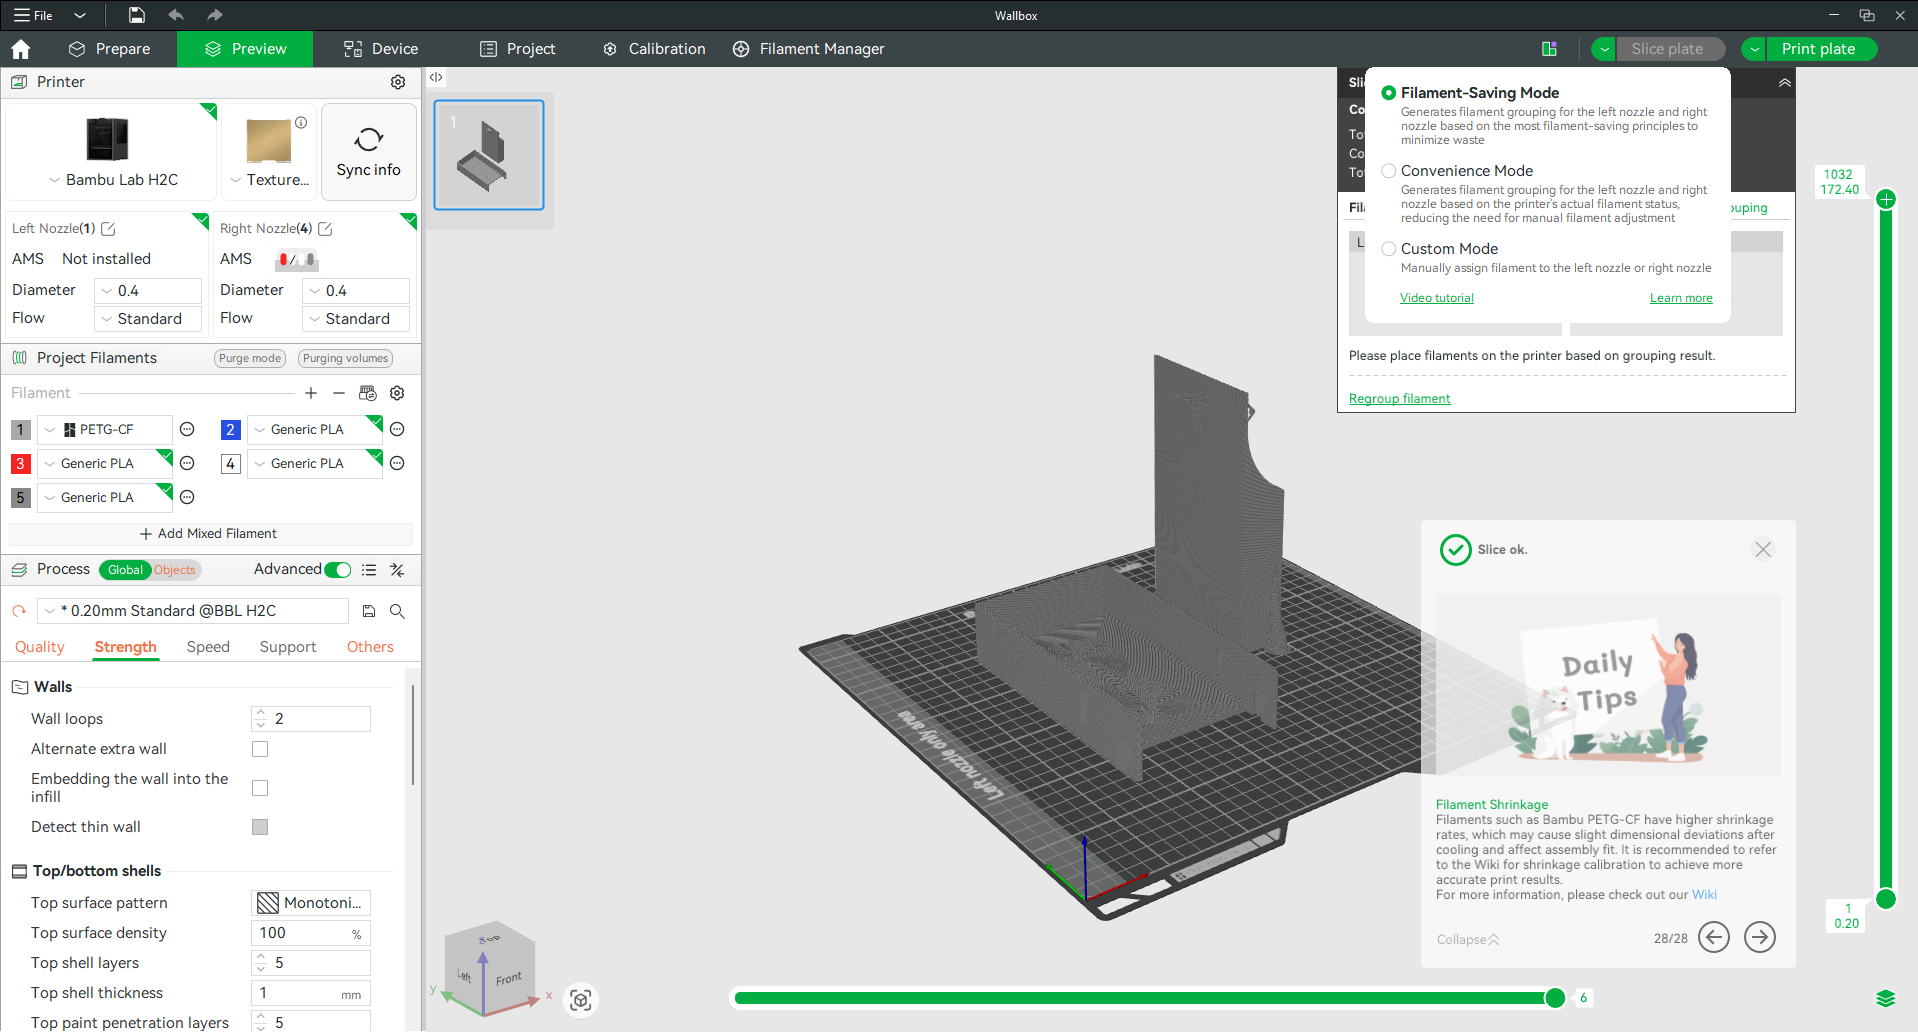
What is it?
Slice Plate converts a 3D model into printer instructions that the printer can understand.
Why would I use it?
A model cannot be printed until it has been sliced. Slicing calculates toolpaths, supports, material usage, and estimated print time.
How do I use it?
Once your model has been prepared, click Slice Plate.
Bambu Studio will process the model and switch to Preview Mode, where you can inspect layers, supports, print time estimates, and material consumption.
For dual-nozzle printers such as the H2D or H2C, you may be prompted to select one of the following options:
Filament Saving Mode
Optimizes filament assignments between nozzles to reduce purge waste and material consumption.
Convenience Mode
Uses the filament assignments currently configured on the printer, reducing the need to rearrange spools or manually reassign materials.
Preview Mode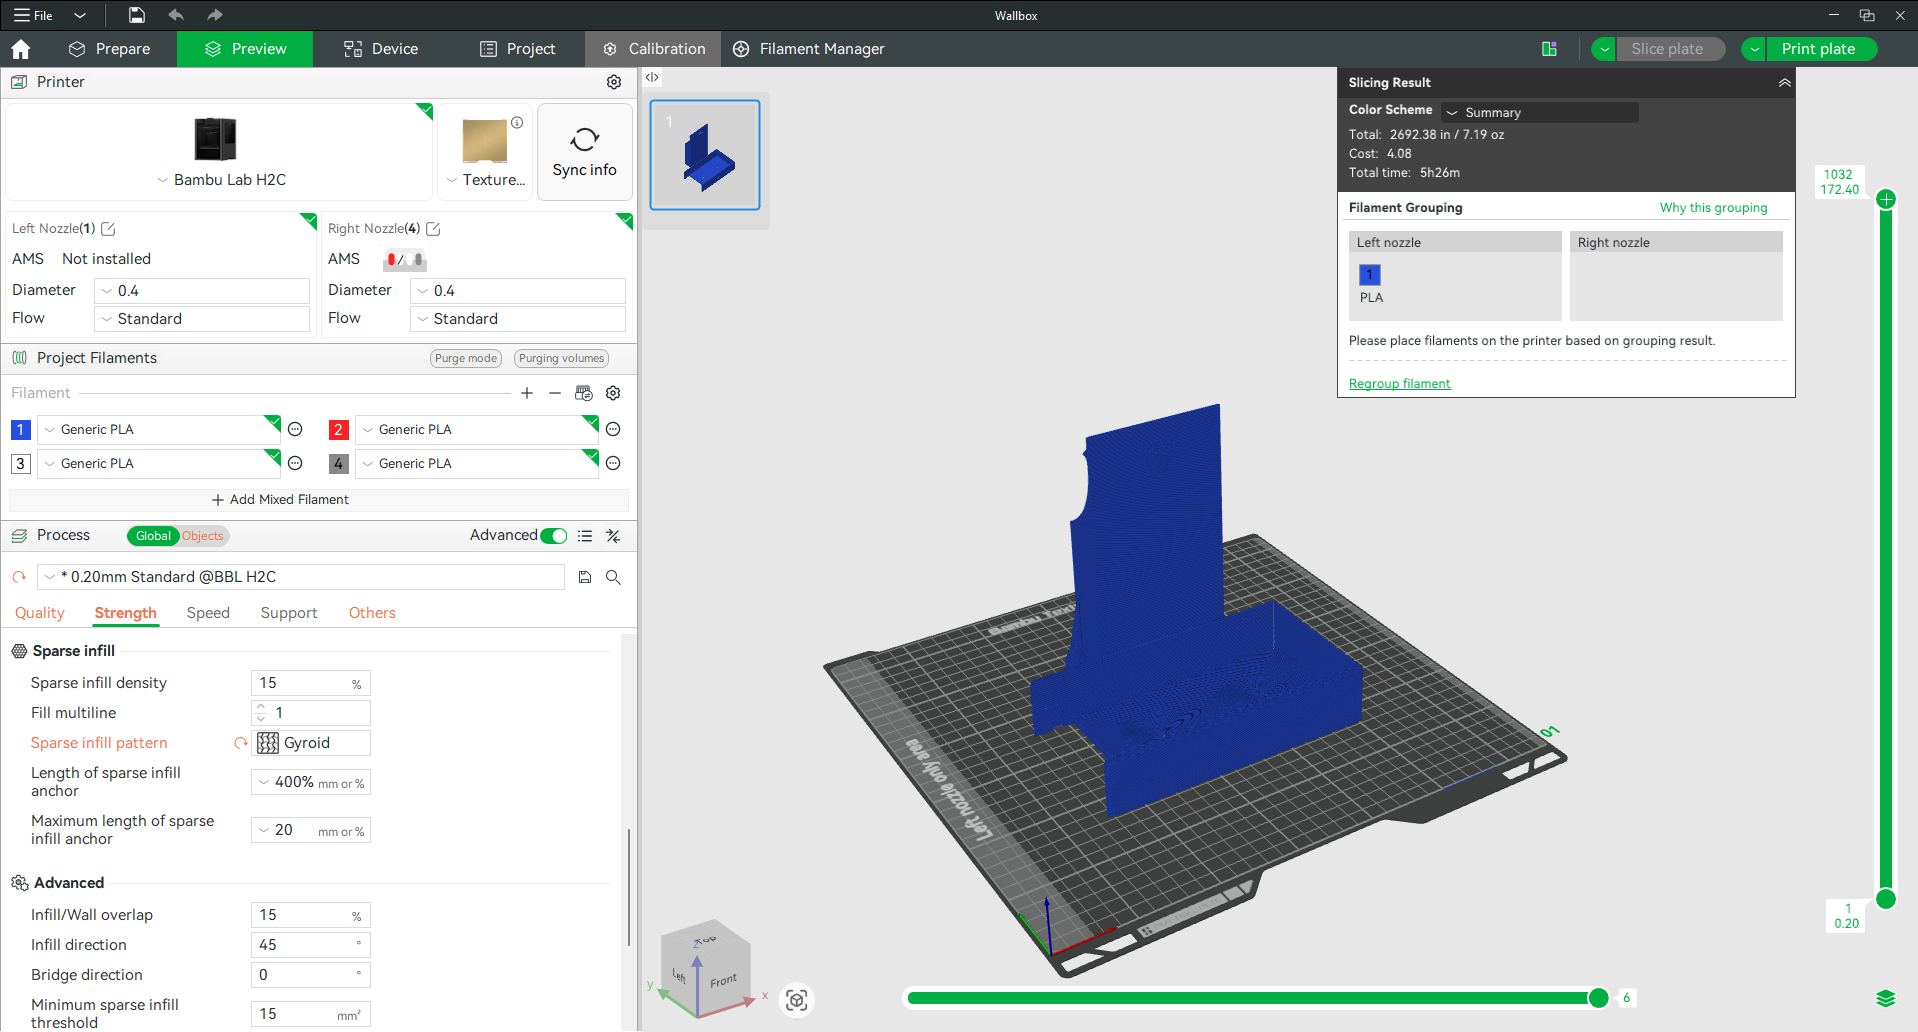
What is it?
Preview Mode allows you to view exactly how the printer will build your model layer by layer.
Why would I use it?
Preview Mode is one of the most important quality-control tools in Bambu Studio. It allows you to identify support issues, color assignments, infill patterns, and potential print problems before starting a print.
How do I use it?
After slicing a model, Bambu Studio automatically switches to Preview Mode. Use the layer slider to move through the print one layer at a time and inspect the generated toolpaths.
Taking a few moments to review the preview can help prevent failed prints and save both time and material.
Print Plate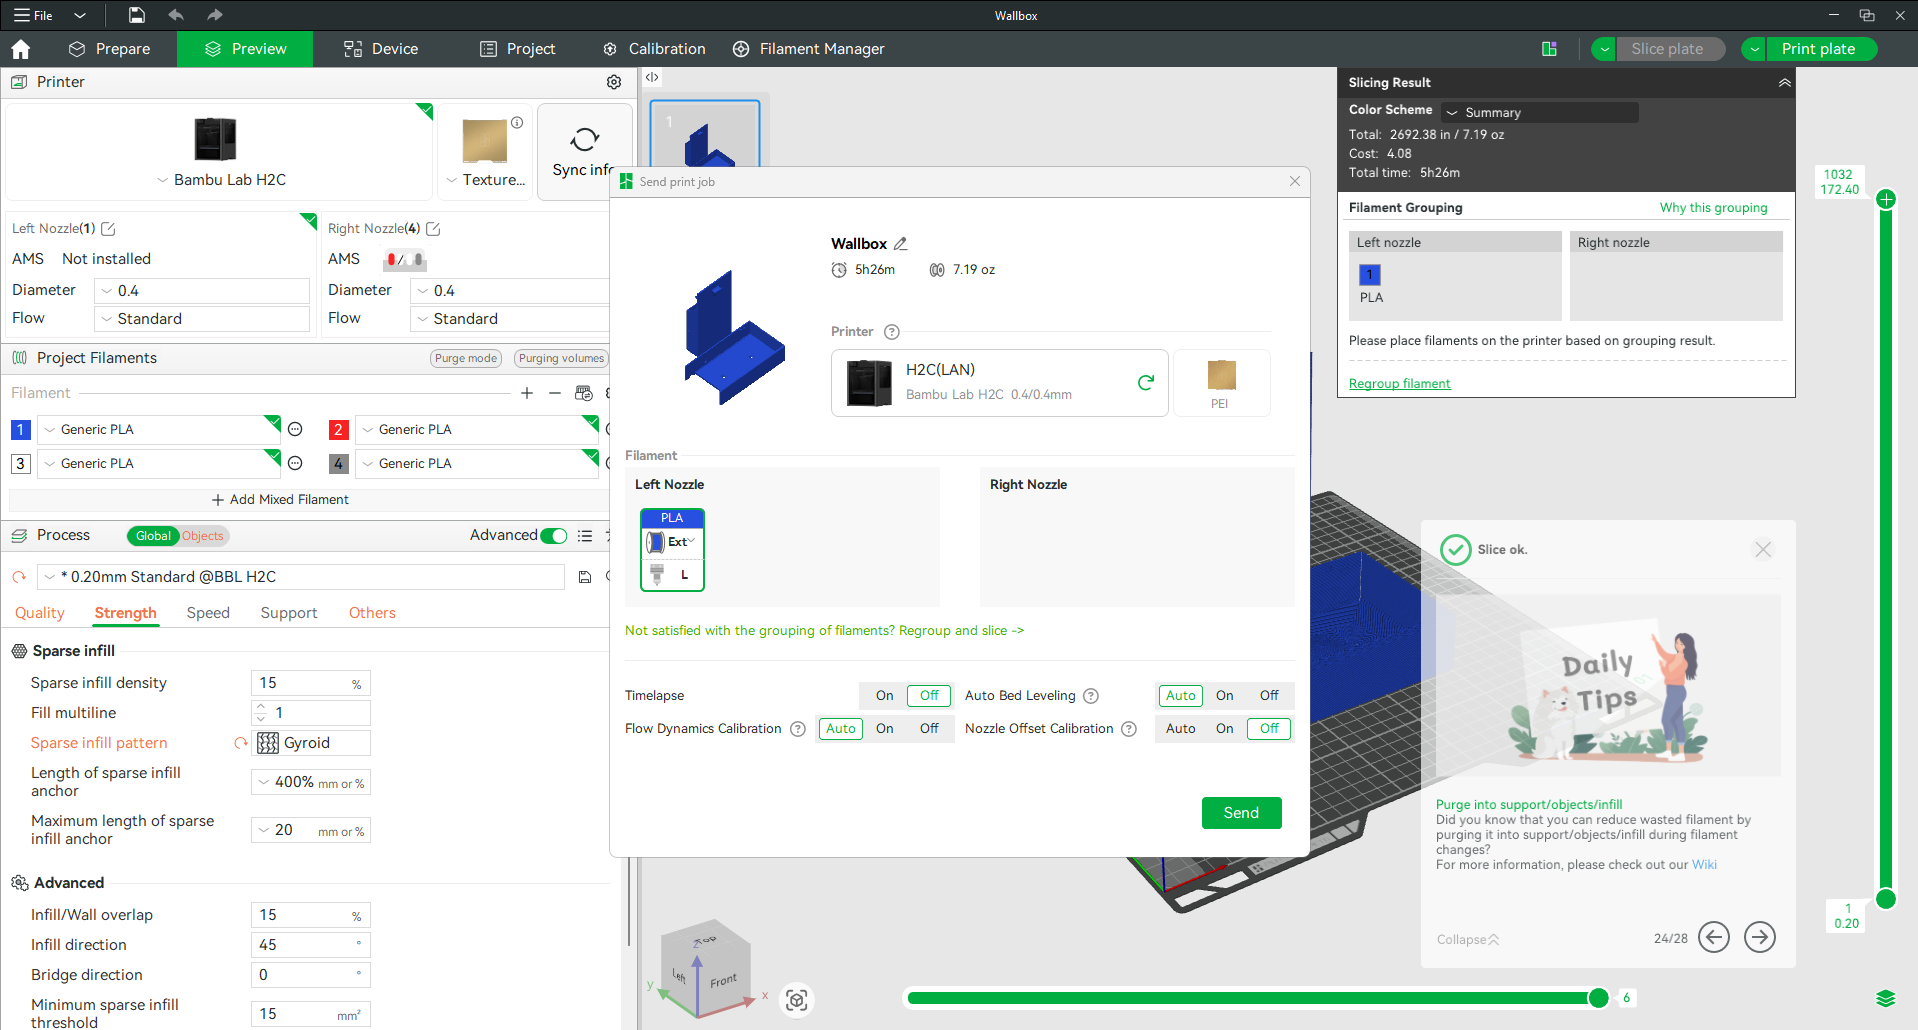
What is it?
Print Plate sends the sliced file directly to a connected printer.
Why would I use it?
Once a model has been sliced and reviewed, it must be transmitted to the printer before printing can begin.
How do I use it?
Click Print Plate, select the desired printer, verify filament assignments, and start the print.
If any issues are detected, such as missing filament assignments or unsupported materials, Bambu Studio will notify you before printing begins.
Related Articles
BOFA Cart with ULS/Start Stop Card will not turn on automatically
BOFA now has the option to add a ULS Start/Stop card to the cart. This allows the Universal Laser to send a 5V signal to a card inside the BOFA to start it automatically. There have been a few cases where this has not worked. The way it should work ...Universal Start/Stop Override Switch on BOFA Base 1
If your BOFA Base 1 unit is equipped with the Universal Start/Stop feature, the unit will turn on and off automatically when you start a job on your laser system. This is a very convenient feature as you do not need to remember to manually start your ...3D Experience Tenant Admin Guide
The admin guide can be found here: https://cloud.academy.3ds.com/ifw/ti/3DS_Administrator_Guide.pdfCut Studio Reinstall
To reinstall CutStudio follow this link to download the installer https://amtekcompany-my.sharepoint.com/:f:/p/lucas/EpEh_QzrEwtFooSudUuhg40BIHywthLomYqoroxAOA6_IQ?e=vd1zg7 Once downloaded, extract the compressed folder. After the file has been ...Re-Formatting the SD card on the Stratasys F123
This guide will show you the steps to remove the SD card from your Stratasys F series machine for re-formatting. Tools you will need: A computer with a micro SD card reader/ and adapter for a micro sd card. A 3 mm Hex First start by powering down the ...